WordPress DNS is the backbone of your website’s online presence. Understanding DNS is crucial for ensuring your WordPress site is accessible, secure, and performing optimally.
In this guide, we’ll delve into the intricacies of DNS management, providing you with the knowledge and tools to navigate this essential aspect of website administration with confidence.
Join us as we explore the nuances of WordPress DNS management, empowering you to streamline your website’s infrastructure and enhance its overall performance.
Listen To The Podcast Now!
What Is DNS?
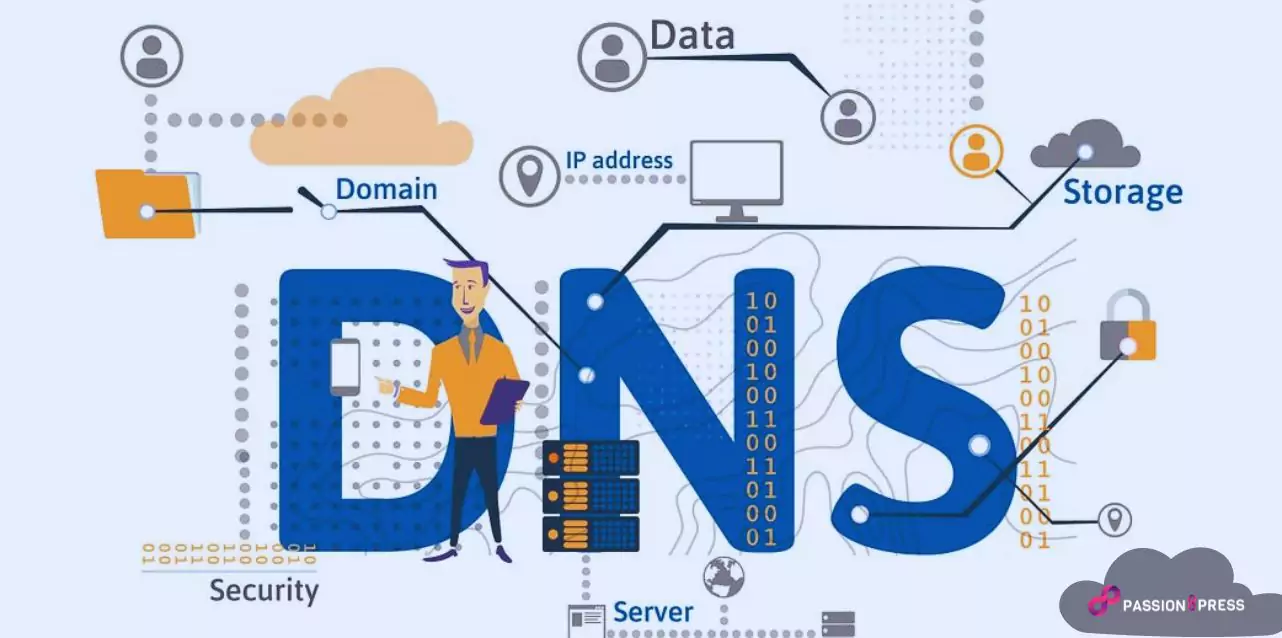
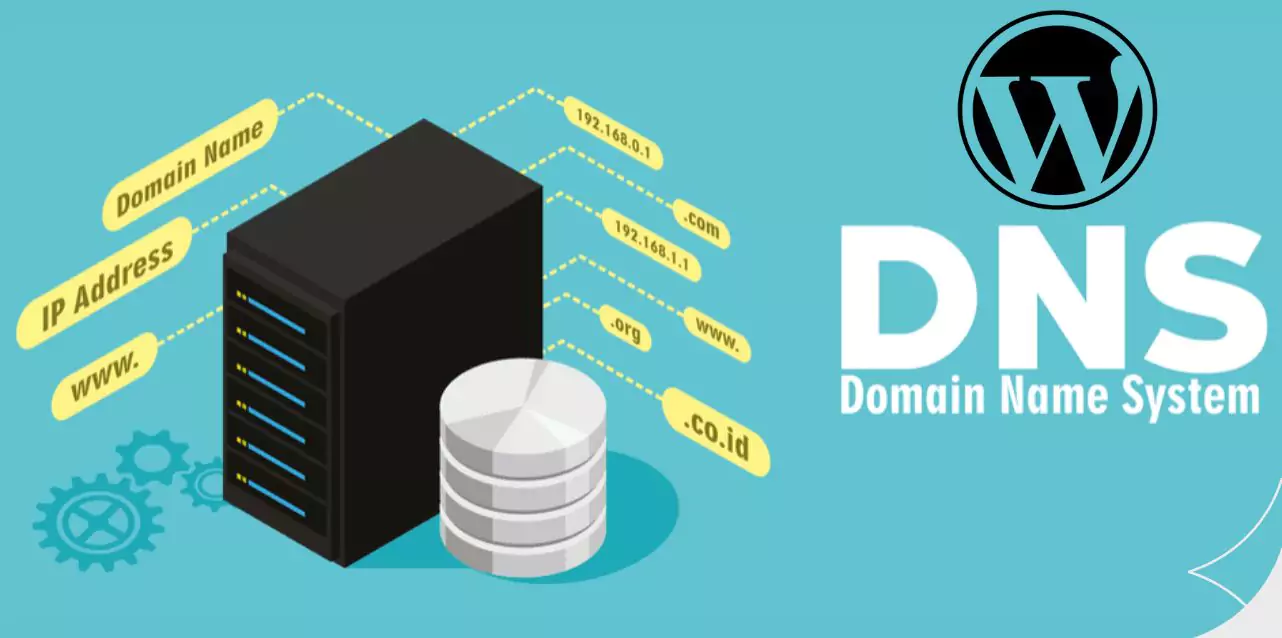
DNS stands for Domain Name System. It is a hierarchical and decentralized naming system for computers, services, or any resource connected to the Internet or a private network. In simpler terms, DNS serves as the “phone book” of the internet, translating human-readable domain names into numerical IP addresses (such as 192.0.2.1) that computers use to identify each other on the network.
DNS plays a crucial role in ensuring that internet- users can access websites and other online services by translating user-friendly domain names into machine-readable IP addresses. Additionally, WordPress development DNS enables various internet services like email delivery, FTP access, and more by mapping domain names to the appropriate network resources.
How Does DNS Work?
DNS (Domain Name System) translates human-readable domain names into numerical IP addresses that computers use to communicate with each other over the Internet. Here’s a step-by-step breakdown of how WordPress DNS works:
Request Initiation:
When you enter a domain name into your web browser, your computer initiates a DNS query to find the corresponding IP address.
Local Cache Check:
Your computer first checks its local DNS cache to see if it already has the IP address for the requested domain stored. If the IP address is found in the cache and is still valid (not expired), the query process ends here, and your browser connects directly to the website using the IP address.
DNS Resolver:
If the IP address is not found in the local cache or is expired, your computer sends a DNS query to a DNS resolver. This resolver could be provided- by your Internet Service Provider (ISP) or a third-party DNS service like Google DNS or Cloudflare DNS.
Root DNS Servers:
If the resolver does not have the IP address cached, it starts the resolution process by contacting one of the root DNS servers. These root servers store the DNS root zone file and provide information about the authoritative DNS servers for top-level domains (TLDs) like .com, .org, .net, etc.
Top-Level Domain (TLD) Servers:
The root DNS server responds to the resolver with the IP address of the appropriate TLD server responsible for the requested domain extension (e.g., .com). The resolver then contacts the TLD server.
Authoritative DNS Servers:
The TLD server responds with the IP address of the authoritative DNS servers responsible for the specific domain name. The resolver then contacts one of these authoritative DNS servers.
Domain Record Lookup:
The authoritative DNS server receives the query and looks up the requested domain name in its records. It then responds to the resolver with the corresponding IP address.
Response to Client:
The resolver receives the IP address from the authoritative WordPress DNS server and stores it in its cache for future use. It then sends the IP address back to the client computer that initiated the request.
Website Access:
The client computer can connect to the web server hosting the requested website with the obtained IP address. The web server then delivers the website content back to the client, allowing you to access the website through your web browser.
Choosing Custom WordPress Development Services allows users to access websites with familiar domain names instead of complicated IP addresses. This swift process takes just a fraction of a second, making internet browsing effortless and intuitive.
How To Configure WordPress DNS?
Configuring DNS for your WordPress website involves a few steps. Here’s a general guide on how to do it:
Choose A DNS Provider:
Before configuring your WordPress site’s DNS, you must choose a DNS provider. It could be your domain registrar, a third-party DNS service, or your web hosting provider. Popular DNS providers include Cloudflare, Google Cloud DNS, Amazon Route 53, and many others.
Access DNS Management Interface:
You must access the DNS management interface once you’ve chosen your DNS provider. This interface allows you to make changes to your WordPress domain name and settings.
Add DNS Records:
In the WordPress DNS management interface, you’ll typically find options to add various DNS records. The most common DNS records you’ll need to configure for your WordPress site include:
- A Record: Maps your domain name to the IP address- of your web server.
- CNAME Record: Alias record used for subdomains, such as www.
- MX Record: Specifies the mail servers responsible for receiving email for your domain.
- TXT Record: Used for various purposes, such as verifying domain ownership for services like Google Workspace or setting SPF/DKIM records for email authentication.
Point Domain To Web Server:
The most critical step is to point your domain name to the IP address of your web server. To do this, you’ll typically create an A record in your DNS settings and enter the IP address provided by your web hosting provider.
Set Up Subdomains:
If you want to set up subdomains for your WordPress site (e.g., blog.example.com), you can create CNAME records pointing to your primary domain or the appropriate IP address.
Configure Email Settings:
If you’re using- custom email addresses associated with your domain (e.g., [email protected]), you’ll need to configure MX records to point to your email service provider’s servers.
Verify And Test:
It’s essential to check that everything is set up right after changing your DNS settings. You can use online DNS lookup tools or command-line utilities like dig to verify your DNS records’ propagation.
Monitor And Maintain:
Once you complete your WordPress DNS configuration, check and monitor it regularly for any changes or updates. You may need to update your DNS settings in the future if you change web hosting providers or make other significant changes to your website.
Remember that WordPress DNS changes can take some time to grow across the internet, so be patient after updating your DNS settings. Additionally, you can get help from other services like Passion8Press which offers robust security measures to enhance protection for WordPress sites and helps you secure your website.
Passion8Press is more than an outsourcing WordPress development service-it’s a dedicated team committed to client success. With expertise in website creation, e-commerce solutions, and plugin development, they tailor solutions to meet unique needs. Offering round-the-clock support, maintenance, and security services. Passion8Press ensures websites remain optimized, secure, and accessible at all times.
Read More Blogs
How to Change WordPress Domain in a Few Simple Steps
Top 7 WordPress Development Best Practices To Make Your Website Shine
11 Benefits of Choosing Custom WordPress Development Services
Troubleshooting WordPress DNS-Related Issues
Addressing DNS-related issues in WordPress is crucial for maintaining a seamless website experience. Here’s a closer examination of common errors and strategies to resolve them promptly:
DNS Server Not Responding:
Description: This error suggests your browser can’t connect to the website servers. It’s typically caused by DNS provider issues, firewall restrictions, or internet connectivity problems.
Solution: Check your internet connection, disable the firewall or antivirus software, and flush or clear the DNS cache on your system.
DNS_PROBE_FINISHED_NXDOMAIN Error:
Description: This error, primarily seen in Google Chrome, occurs when the browser cannot locate the website’s IP address, leading it to assume the site doesn’t exist.
Solution: Clear browser and DNS cache, use Google’s public DNS servers and verify the computer’s host files.
ERR_CONNECTION_RESET Error:
Description: This error on Google Chrome indicates that something is preventing- the browser from accessing the WordPress site, often occurring after a domain migration.
Solution: Flush the DNS cache and change DNS settings, such as utilizing Google Public DNS.
WordPress Redirecting to Old Domain After Migration:
Description: This error arises when WordPress redirects users to the old domain after migration, typically due to inconsistent site URL settings or outdated DNS records.
Solution: Check WordPress settings, clear DNS cache, and update DNS records to reflect the new domain.
By addressing these WordPress DNS-related issues promptly and effectively, with the expert assistance of Passion8Press, you can ensure the smooth functioning and accessibility of your WordPress website. For detailed instructions on resolving each error, refer to our comprehensive guides within each section.
Wrapping Up
Figuring out WordPress DNS might seem tricky, but this guide has given you the tools to handle it confidently. Easily manage your website’s online address by mastering various record types and troubleshooting common issues.
Remember, setting up DNS- properly is essential for your website. By following the best practices we’ve discussed, you can make sure- people can always find your website.
If you need extra help with your WordPress DNS or want to hire WordPress developer, consider reaching out to professionals who specialize in WordPress development- that is Passion8Press. They can provide personalized assistance to ensure your website performs optimally online.


