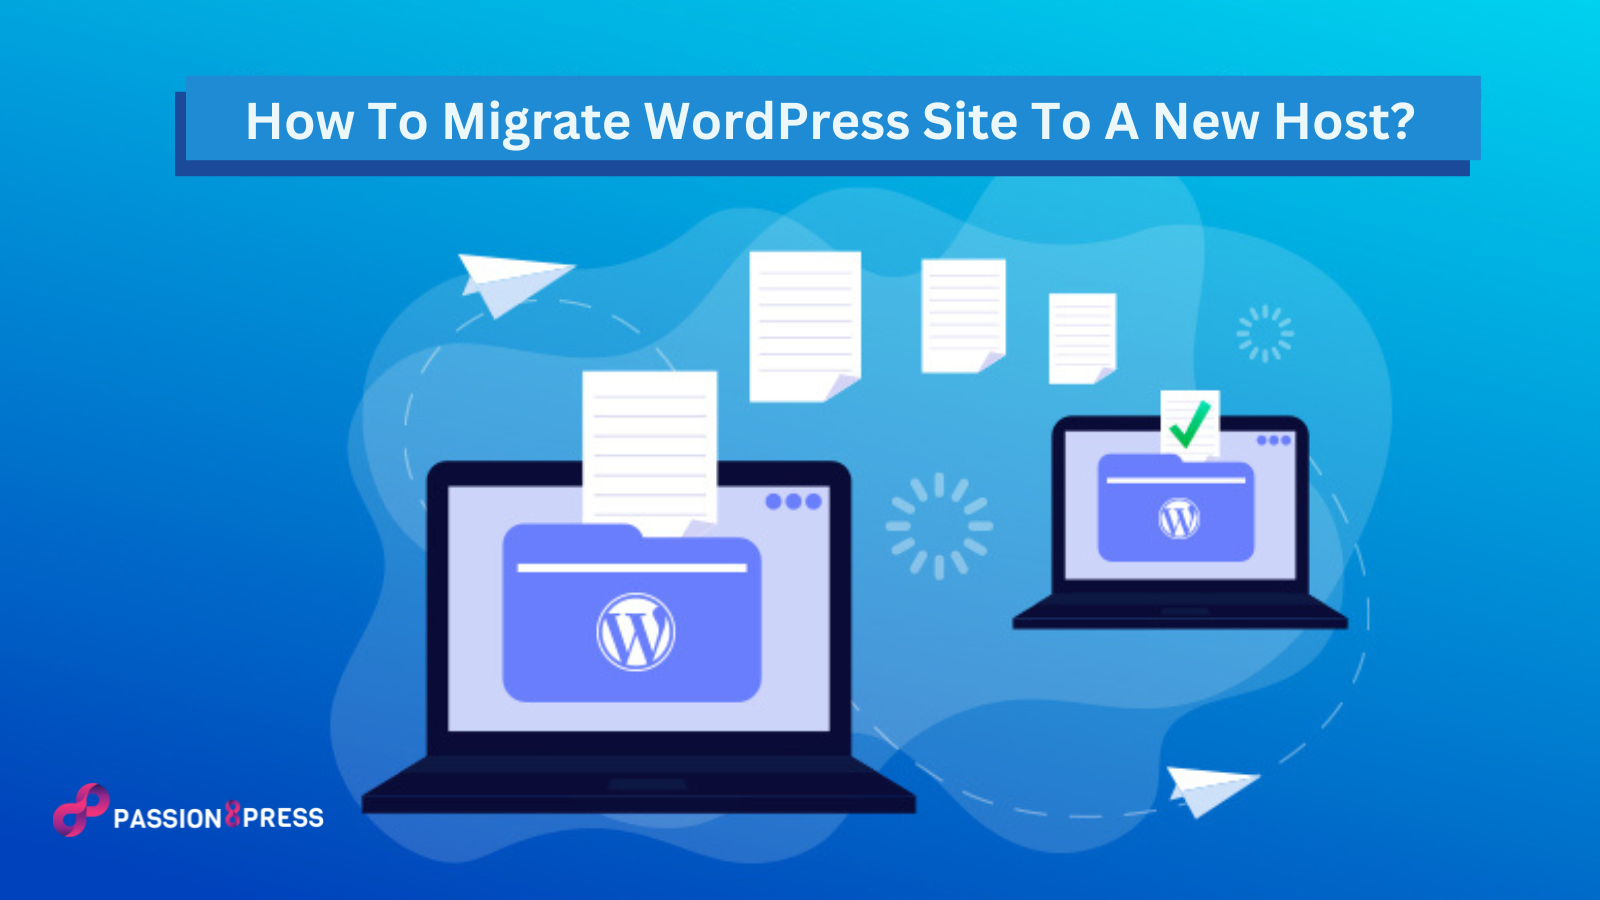
Thinking about moving your WordPress site to a new host? Migrating WordPress website is not like walking on a straight road straight road. Of course, there would be challenges like broken links or missing files that might throw you a curveball during the move.
Don’t worry; we’re here to guide you through potential challenges that may occur when you migrate WordPress site. And here, we will help you troubleshoot those issues. In this blog, we’re going to show you how to migrate a WordPress site.
But first, you need to select your need WordPress hosting.
Listen To Blog Post Now!
Choosing A WordPress Hosting-
If you’re contemplating migrating WordPress site, chances are that you’ve encountered issues with your current host. There could be problems like slow performance, even after optimizing WordPress speed, which may prompt you to seek a new home for your website, one that can accommodate your growing traffic. When choosing a new WordPress host, consider various hosting options:
- Shared Hosting: Budget-friendly, with multiple websites sharing server resources.
- Virtual Private Server (VPS): Offers dedicated resources within a shared server through virtual partitions.
- Dedicated Hosting: Provides a physical server exclusively for your website.
- Managed Hosting: Any hosting plan can be managed, with the provider handling technical tasks like backups and updates.
To determine the best fit hosting for your website, assess your priorities, including security, data storage, speed, and customer support. Make an informed choice as you migrate WordPress site to a more suitable hosting environment.
Create Back-Up For Your WordPress Site-
Creating a backup for your WordPress site, especially when you’re considering moving a WordPress site to a new host, is a crucial step to ensure the safety of your data. Follow these steps to make a copy of all your website’s files:
- Use WordPress Plugins: Utilize WordPress plugins like Duplicator, UpdraftPlus, or Xcloner. These tools streamline the backup process and make it more user-friendly.
- FTP Tool Method: Alternatively, employ an FTP tool like FileZilla, which is not only excellent but also free. Connect to your site’s server via FTP and navigate to the WordPress root folder (often named public_html or www). Right-click on your root folder and choose the Download option. This action will download a copy of your entire root directory to your computer.
Keep in mind that the backup process may take some time, but it’s a necessary and essential step, especially when you’re planning to migrate WordPress site to a new host. Having a reliable backup ensures a smooth and secure transition.
While if you are facing issues with backups of your website, you may hire WordPress developer service like Passion8Press, to ensure the safety of your website with live external backups on reliable servers.
Back-Up For Your Database-
Now that you have a copy of your website’s files, it’s crucial to back up the database, which holds essential information about your site’s content, users, and more. Here’s how to proceed, especially if you’re considering migrating WordPress site:
- Access Your Database: Most web hosts allow you to access your database through the control panel. If you are using cPanel, navigate to the Databases section, where you will find an option called phpMyAdmin.
- Select Your Database: Within phpMyAdmin, locate and select the database associated with your WordPress site. You might have multiple databases if you’re hosting multiple sites.
- Export Database: Look for the Export tab and choose the export method. Selecting the “Quick” method is usually sufficient. Before you migrate WordPress site, you should consider exporting the entire database for comprehensive backup.
Also Read
The Ultimate Mega Guide to Speeding Up WordPress
How To Create a Custom WordPress Website?
Create A New SQL Database-
To create a new SQL database, especially when you migrate WordPress site, follow these steps, assuming your new host uses cPanel:
- Access cPanel Dashboard: Log in to your new hosting account’s cPanel dashboard. Scroll down to the Databases section and click on the ‘MySQL Databases’ icon.
- Create a New Database: From the MySQL Databases tab, create a new database. Simultaneously, add a user to it. Scroll down to the MySQL Users section after creating the MySQL database.
- Add User and Set Credentials: Provide a username and password for your new user. Click the ‘Create User’ button and take note of the database name, username, and password.
- Access Database via phpMyAdmin: Access the new database using phpMyAdmin, just as you did during the previous step.
- Import Database File: In the new database, go to the Import tab and upload the .sql file generated earlier. This step is crucial for migrating your WordPress site, as it imports your old database into the new one.
With the following steps completed, your old database is transferred to your new web host. However, do not forget to re-upload the rest of your old site’s files for a complete and successful wordpress migration.
Import Your WordPress Site Files to the New Host-
To import your WordPress site files to the new host, a vital step in migrating WordPress site, begin by logging into your new server via FTP using the server’s IP address or hostname since your domain still points to the old host.
In the FTP client, upload both the installer.php file and your archive .zip file to the root directory, typically “/username/public_html/.” Ensure the root directory is empty, deleting any existing WordPress installation if needed.
This process guarantees a clean slate. Once verified, proceed to upload both the archive zip file and the installer.php file to your site’s root directory, ensuring a successful transition to your new hosting environment.
Edit Your WordPress Site’s wp-config.php File-
Once all your files are successfully migrated to the new server in the process of migrating your WordPress site, the next step is to access your WordPress root folder and edit the wp-config.php file.
Trying to visit your website at this stage may not work, as the wp-config.php file needs updating to point toward the new database. Locate the “wp-config.php” file in your new root folder, right-click on it, and choose the View/Edit option to open it in your local text editor. In this file, update the following three lines:
define('DB_NAME', 'new_db_name');

define('DB_USER', 'new_db_user');

define('DB_PASSWORD', 'new_db_pass');
Replace the lowercase variables with the credentials for your new database, save the changes, and close the file. After this modification, your custom WordPress website should be accessible, maintaining its previous appearance and functionality on the new server.
Update Your Domain Name Server (DNS)
After you migrate WordPress site to a new hosting server, it’s crucial to update your domain’s Domain Name System (DNS) settings to ensure a seamless transition. Even though you’ve replicated your database and files on the new host, your domain still points to the old web hosting account.
To initiate this crucial step in the process of migrating WordPress site, upload your files to the new host and then access your domain name registrar for DNS updates. Without this, the DNS settings will continue to direct to your old host.
Keep in mind that DNS propagation can take up to 48 hours, during which it’s essential to refrain from making changes to your website, as they would affect the old version.
Once the propagation period concludes, you can safely delete files and databases from your old web host, ensuring a smooth transition. Remember to retain everything on your local computer as a safety precaution throughout this process. The process of website migration is a complex one for non-professionals. And if you are having any doubts, going for a professional WordPress developer service like Passion8Press would be a great choice.
How To Migrate A WordPress Site: Summary
If you want to migrate WordPress site, it involves several meticulous steps. From creating backups to transferring files and databases, each of the above-shown steps are equally important for a seamless transition.
Choosing a new host, updating DNS settings, and editing the wp-config.php file is pivotal for maintaining website integrity. While challenges may arise, addressing them with precision ensures a successful migration.
Remember, updating the domain’s DNS settings is the final touch, marking the completion of the migration process. By adhering to these steps, you can confidently navigate the complexities of migrating a WordPress site and enjoy the benefits of a new hosting environment.


