A WordPress website’s update process could be trickier than you might imagine. Publishing a new page or post is usually not problematic. However, you could break your website if you update WordPress components or make significant changes to the functionality or appearance. You can avoid this issue by employing a WordPress staging site.
You can test any changes you want to make in a secure environment by using a WordPress staging site. When you are satisfied that everything is working correctly, you can “push” those modifications to the live website.
In this blog, we will define staging sites and explain their operation. Moreover, we’ll go through the benefits of using staging environments and teach you how to create staging site WordPress.
Listen To The Podcast Now!
What Is A WordPress Staging Site?
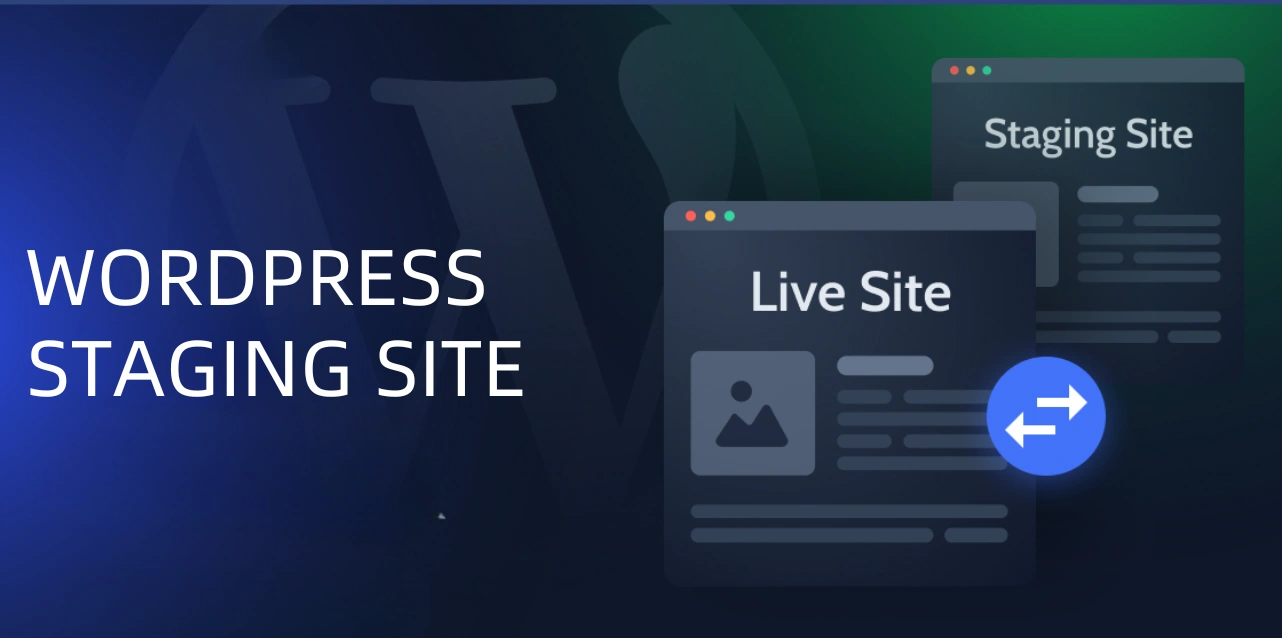
A staging site is a replica of your live website. It’s an environment that we set up where we can test and experiment with our website before it goes live, avoiding disruptions to your live site.
In a staging site for WordPress, you can try something new without taking any risks, like changing the theme or adding new WordPress plugins and code snippets, or you can repair issues like bugs and plugin conflicts.
Once you finish updating and modifying, you can easily upload them to the live server.
Pros of WordPress Staging Site?
Each stage of the procedure requires the presence of a staging site. The first step is to put your live site into staging so that you can perform some “stress tests.” Understanding this allows you to rise to the next challenge. Let us see some of the advantages of a WordPress staging site.
You can modify WordPress with Freedom.
It can be disorienting for visitors to browse through a mixture of outdated and new designs, so avoid doing so if you intend to revamp your entire website.
A staging website allows you to make all of your modifications at once. In this manner, you won’t have to be concerned about users viewing incomplete pages or designs.
You may be able to send the whole updated version of your website to production with just a few clicks once you’re ready to launch it. However, it’s crucial to remember that this will vary depending on the kind of staging environment you’re utilizing.
Troubleshooting
No website is flawless. No matter how hard you try, there will be the occasional WordPress error. There might be bugs, incompatibilities with other plugins, and other nefarious technological problems. You want to fix them. However, as you may know, sometimes solving one problem results in ten more.
A staging site is the ideal setting for addressing those problems. Because this won’t impact your live website or the user experience in any way, even if you cause more problems than you solve. Until you resolve all technical issues, you can work on your website in a secure environment on a staging site. It’s an excellent location for evaluating quality.
You Can Update WordPress Safely
Any downtime due to problems on your website can frighten off visitors and have a negative impact on your earnings if you manage a commercial website. Using a staging website, you can be sure that your modifications won’t break anything. In this manner, you’ll avoid showing your audience your errors.
How To Set Up A WordPress Staging Site?
You can create staging website WordPress in a few different ways. We’ll guide you through each of them in this section, starting with an easy choice and working our way down to the more complex manual methods.
Use A WordPress Staging Plugin
Making staging copies of your website is also possible with many well-known WordPress backup plugins.
The staging plugin is compatible with any server since it allows you to use subdirectories to make numerous staging copies of your website. Installing and activating the plugin is the first step. After that, you may start and make a staging version of your website.
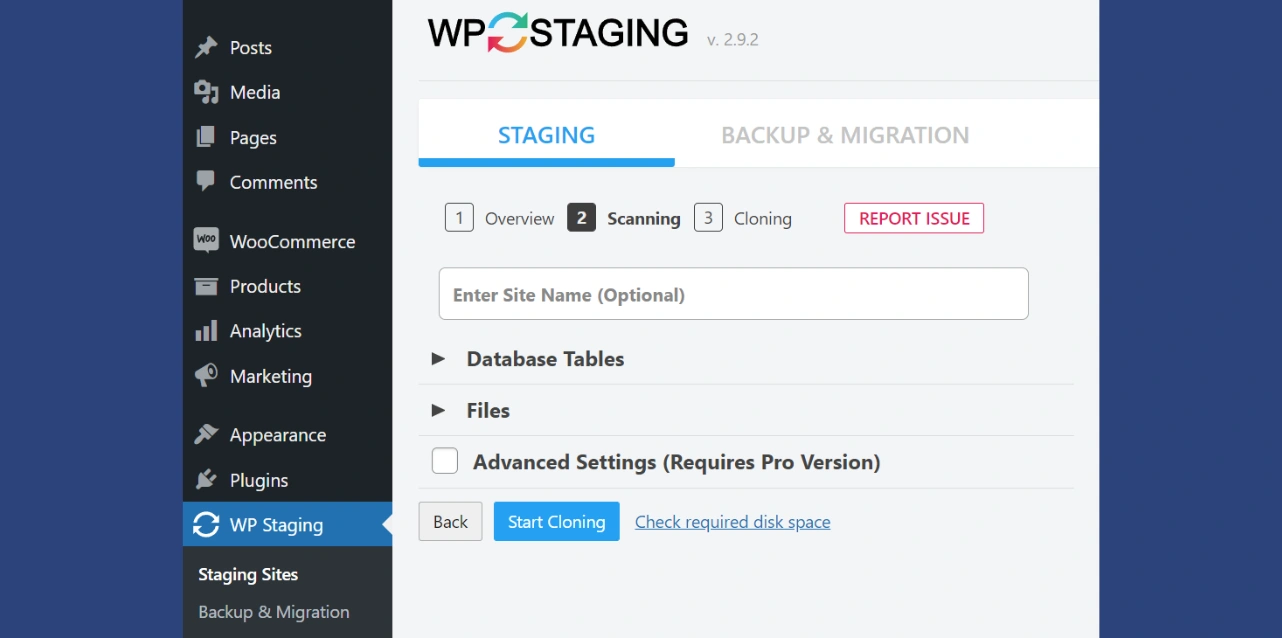
Go to WP Staging → Staging Sites in your WordPress dashboard. Click on Create New Staging Site after that.
The plugin will ask you which files to include on the staging website and which database sections to copy. The plugin will choose everything by default. In this manner, you receive a carbon replica of the website for staging reasons; you should leave these default choices in place.
Next, select “Start Cloning.” WordPress Staging will launch a command line interface and show its progress while building the staging website. The plugin will show instructions to access the staging site after finishing the process. Take those actions.
Use A Local WordPress Staging Environment
There are multiple ways to create a staging environment for WordPress that is specific to a local server. Some managed web servers even include specialized tools for setting local WordPress setups.
Depending on the tool you select, the procedure may differ slightly, but in general, you will begin by backing up your live website and bringing it into a local environment. Remember that installing the identical backup plugin on both websites is also required.
After importing a backup, you can use your local website as a staging environment. Then, you typically have two choices when it comes time to deploy the modifications to production.
The first step is to transfer a complete backup of the local website onto your live website. Alternatively, depending on the web host, you can publish the site straight to production using your local WordPress development tool.
Create A Staging Website With Your Hosting Provider
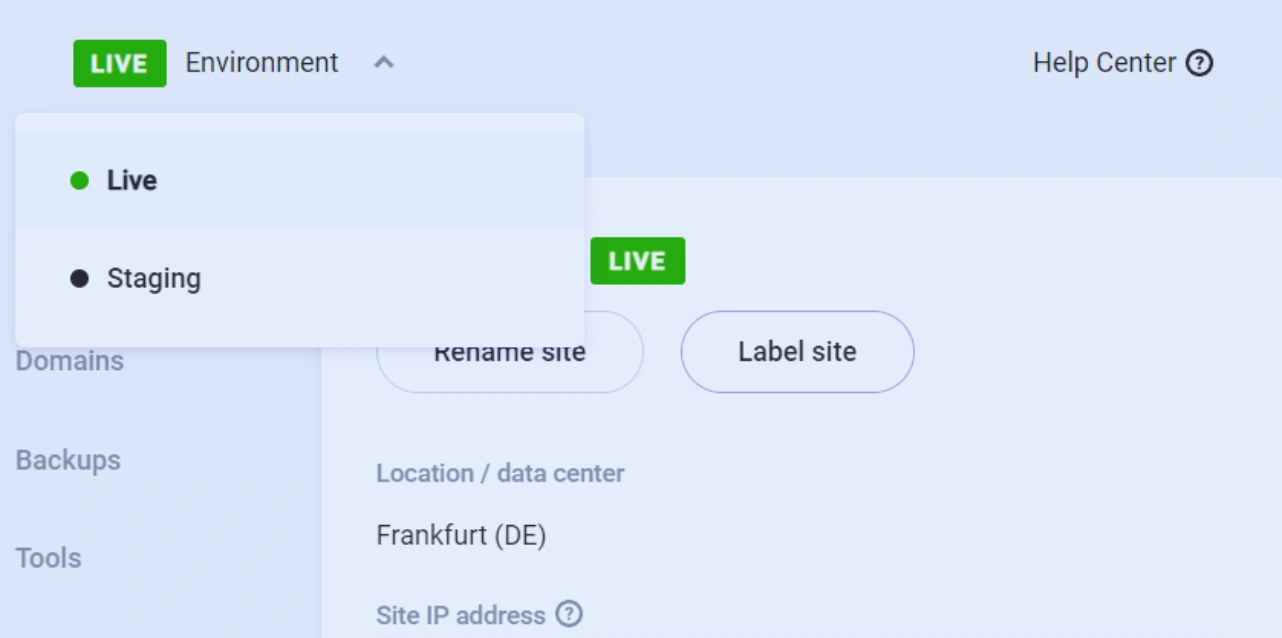
Certain hosting companies come with built-in staging features. It’s a typical feature and a key selling point for web hosting who specialize in managed WordPress. The following web servers are compatible with WordPress and provide staging functionality:
- Pressable: WordPress hosting provided by Automattic, the company that created WordPress.com’s WordPress specialists. Every strategy has the ability to be staged.
- Bluehost: Bluehost’s managed WordPress hosting plans include access to staging tools.
- InstaWP Live: A hosting solution optimized for WordPress offered by the InstaWP platform. It includes cutting-edge development tools to expedite workflows and is specifically designed for WordPress staging.
- Flywheel: You can establish staging sites with this WordPress web server, making it an excellent choice for firms.
It is crucial to remember that every web server uniquely uses staging tools. In general, creating staging websites should be easy if you choose any of the web servers we listed. The kind of plan you require, the cost, and the user interface will determine which web host is best for you.
Create a WordPress Staging Site Manually
As it takes more labor and knowledge, this is just for more experienced users. This approach has a significant drawback in that when you push the changes from the staging site to the live website, it will be momentarily inaccessible.
Here’s how to set up a WordPress staging site manually:
- First, you need to create a subdomain for the staging website. Click the Subdomains link in the dashboard of your hosting account. Most, if not all, hosting companies will offer this feature.
- After giving the subdomain a name, press the Create button.
- It will now be visible in the hosting provider’s dashboard or control panel.
- The next step is to set up an FTP account for the staging environment. By doing this, you can ensure that everything gets clear and that you do not inadvertently alter the live website. Just fill out the details in the FTP accounts area of your hosting provider dashboard. One crucial warning is that you need to confirm that the directory corresponds to the subdomain directory.
- The website needs to be transferred to the staging area. To accomplish this, locate the phpMyAdmin option on the dashboard of your hosting company and select Operations or a comparable option. Here, you must select Copy Database and provide the staging site’s database name. If this option is unavailable, you can import a database backup that you made beforehand.
- You can now begin copying themes, plugins, and other components and apply your modifications as you see fit.
Now, you understand how to create a WordPress staging site. There may be some cases where you still need development optimization for your websites. Do not worry, Passion8Press is a mindblowing platform where you can easily hire WordPress developers specializing in website optimization. Let us understand what more features it offers.
Features of Passion8Press-
- All-inclusive WordPress development services
- Smooth integration of e-commerce to improve conversion rates
- Skilled WordPress plugin development for enhanced features
- modifying plugins and themes to meet particular requirements
- Lightning-quick speed optimization to achieve peak efficiency
- 24/7 website editing services for current material Fully maintained security protocols to fend off attacks
- Reactivity on tablets and smartphones for a flawless user experience
- Effective virus removal to protect one’s reputation online
- Premium round-the-clock support for quick problem-solving and help with managed blogging.
Also Read:
How To Create WordPress Plugin: A Beginner’s Guide
A Step-By-Step Guide To WordPress Plugin Development
Conclusion
When you need to work on potentially site-breaking aspects, a WordPress staging site can be a very useful tool. Since the staging site will be far removed from any live components, it will be simpler for a dedicated WordPress developer to assist you with any functionality.
For establishing a staging area, there are multiple approaches. The simplest and possibly safest way to do it is through a hosting company. Furthermore, a large number of plugins provide the service, but there are some privacy concerns.
Finally, you can use your local server to accomplish it manually. This is a more involved procedure with the drawback that you will become unavailable while the updates are being uploaded from the staging site to the live one.
So, we hope you now have ample knowledge about the WordPress staging site. Please use the comment box below for any further queries.


